NOSTALGIA: Historian's beacon of light, graft and passion


Nat Gonella from the Eastbourne Local History Society explains the story behind it.
“Many people will have read of Mick Hyman’s account of the relocation of the society’s archives to a disused memorial chapel in the town.
Advertisement
Hide AdAdvertisement
Hide Ad“I, together with Mick and Diana Guthrie were responsible for unpacking and initial inspection of the material and seeing for the first time in many years just what we had. Predictably there were many books, pictures, newspapers, maps, and various documents. Also a lot of cardboard tubes, one of which being red, stood out.
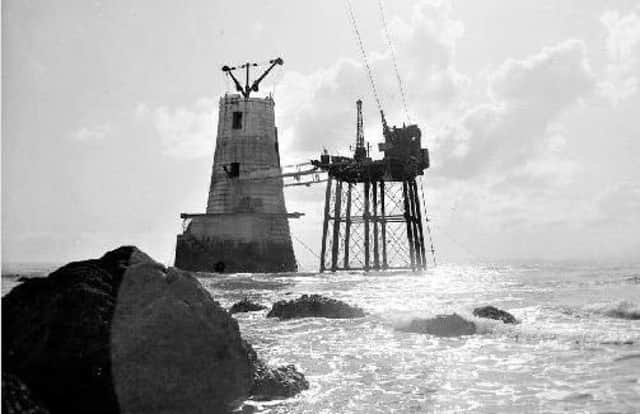
“With infinite care, and mounting excitement we withdrew the fragile contents. We were rewarded with an original architectural plan of the iconic Beachy Head Lighthouse over a metre high.
Alas it was fast disintegrating.
“Later, it was agreed that if the plan could be restored, reduced copies could be offered to ELHS members. As there was no competition for the job I took the thing home and had a long think.
“It was obvious that nothing could be done until the plan had been stabilised, and that meant mounting. However it was securely fixed into wooden batons top and bottom. These would have to go. I was reluctant to simply cut them off. Luckily it proved possible to free the plan causing only slight damage. This was especially fortunate because addition information was revealed which would have been lost had the batons been cut away.
Advertisement
Hide AdAdvertisement
Hide Ad“The plan presented a sorry sight. It had obviously been open to the light for years but with various items carelessly thrown on top resulting in uneven areas ranging from a dirty yellow to a greyish white.
“More seriously, the bottom 25 per cent of the building had faded to virtual oblivion. A sheet of MDF was obtained, but what adhesive should be used? Apart from wallpaper paste the only other option appeared to be spray mount. A can of 3M Spray Mount was bought and tests carried out satisfactorily using heavy paper. To mount a disintegrating sheet over a metre in length was clearly a two person job, so my wife was co-opted.
“The result was a near disaster. The plan had an edging of a different material with quite different shrinkage characteristics. This resulted in numerous ridges and bulges which didn’t ‘dry out’.
“Hindsight is a wonderful thing. I should have cut off the edging and reattached it later. So what now? Using a surgical scalpel I cut the apex of each ridge and the same thing with the bumps. Then I tried to flatten ridges and bumps using more adhesive where necessary. The end result was better but not good.
Advertisement
Hide AdAdvertisement
Hide Ad“Next, high definition photographs needed to be produced. The first thing I discovered was that using very ‘flat’ lighting hid those ridges to a great extent and the rest depended on editing the digital files in Photoshop.
“Getting rid of the yellow was the easy bit, I simply converted the image to black and white. After 70 or so attempts I had learned a lot but the results were not good enough. So I scrapped the lot and started again.
“Another 60 or so shots and I was almost there. One thing still worried me, the bottom 25 per cent of the lighthouse was largely lost to fading and had defeated my editing abilities.
“I took a deep breath and a very sharp pencil and redrew the missing details. The British Museum would not approve, but it worked.
“The images are printed on ‘ivory’ paper which closely matches the “off white” colour of the original.”